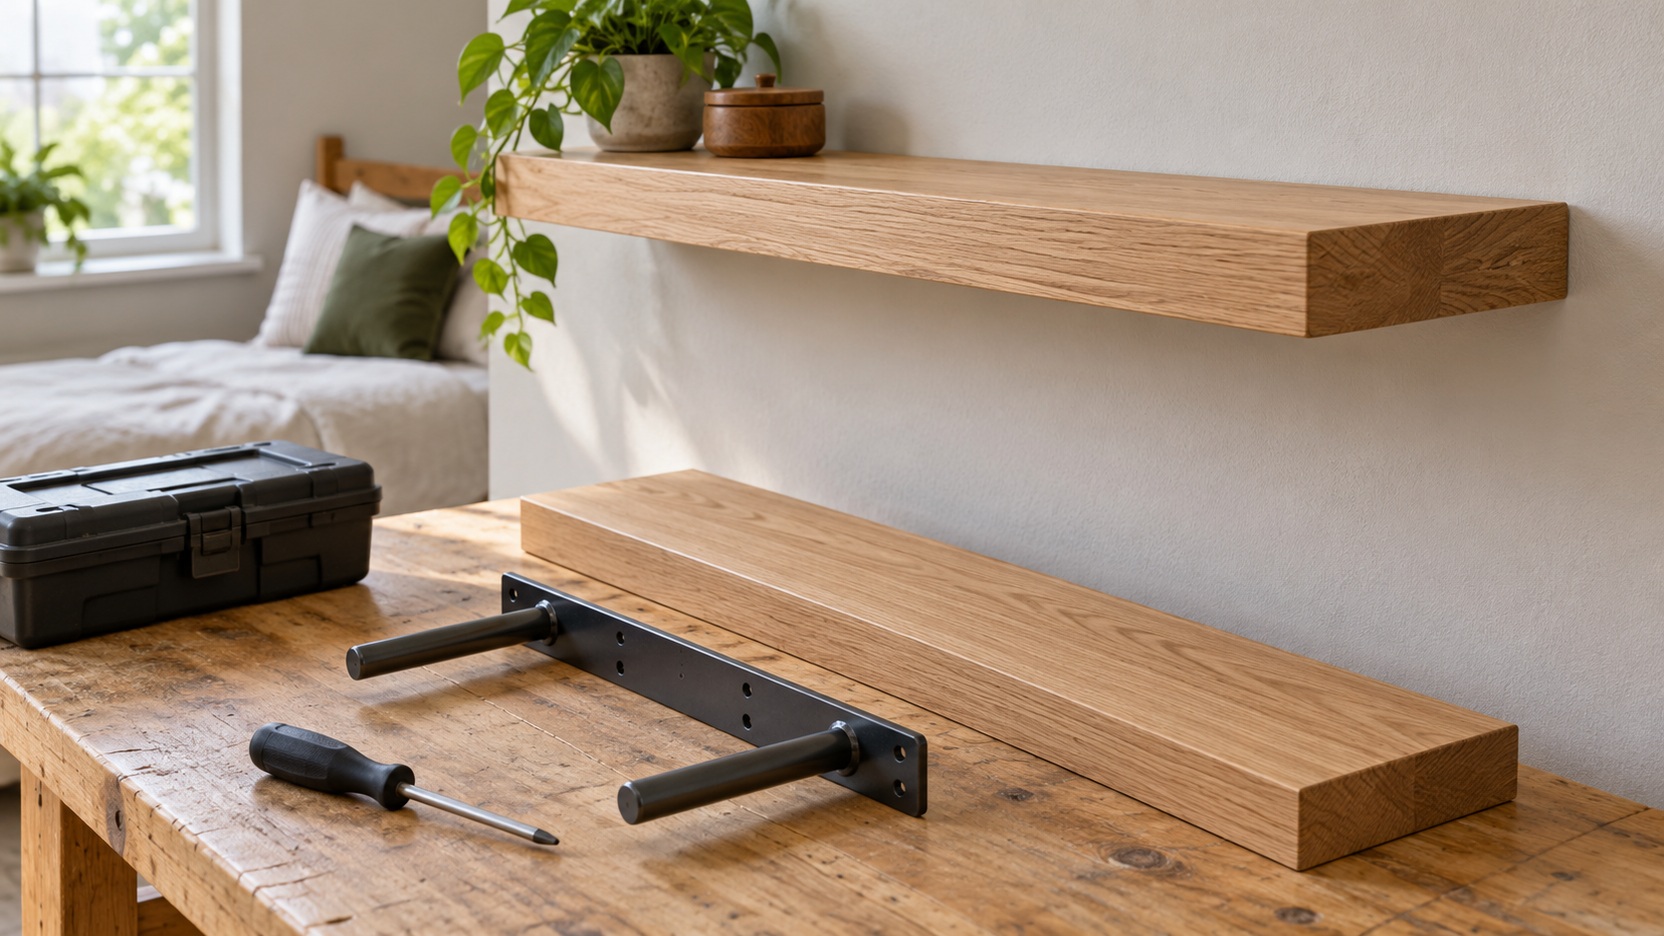
Install the Complete Shelf System, Not Just the Board
A floating shelf looks simple because its support is concealed, but a dependable installation depends on several parts working together. The shelf, bracket, screws or anchors, wall construction, and intended contents all influence the result. The correct method is therefore specific to the selected product and the wall, rather than one universal sequence of drill sizes and fixings. Begin by reading the actual instructions and identifying the conditions they require. Then plan a location that is useful, unobstructed, and suitable for the proposed load. This guide explains the decisions and installation stages to work through so you can recognize what belongs in a careful DIY job and when uncertainty needs appropriate professional help.
A: No. Match the exact shelf system, substrate, and intended loading.
A: Not necessarily. Check the intended wall conditions and product guidance.
A: No. The complete shelf, bracket, fixing arrangement, and wall determine the supported installation.
A: No. Use appropriate assessment and resolve uncertainty before drilling.
A: Change the location or choose an appropriately assessed compatible system.
A: No. Follow the specified method and reassess unsuitable conditions.
A: Stop and resolve the underlying issue before fitting or loading the shelf.
A: Complete all retention steps specified for the actual model.
A: No. Improvised body-weight or overload tests do not establish documented capacity.
A: The new wall, services, fixings, location, and intended use need fresh assessment.
Read the Product Instructions Before Choosing Fixings
Confirm that you have the correct shelf, support components, and instructions for the exact model. Concealed brackets vary in shape, attachment method, and the way the shelf locks onto them. A method that suits one product may be inappropriate for another. Identify the required components and the stated limitations before buying separate hardware or marking the wall.
Check whether wall fixings are supplied and what wall conditions they are intended for. Included hardware is not automatically suitable for every installation. If the instructions require selecting fixings separately, use a compatible choice for the actual wall and support arrangement. Resolve unclear requirements with the supplier or a suitably qualified installer rather than substituting whatever is already in the toolbox.
Define the Contents and Their Combined Load
Decide what the shelf will hold before settling on the size and location. Books, containers, ceramics, and equipment can create different loading demands. Include the weight of containers and other supporting accessories, not just the items inside them. Where the published allowance requires including the shelf itself or other parts, follow that definition rather than making assumptions.
Read the load guidance for the complete installation, including any conditions about distribution and wall type. A number printed on an individual anchor does not establish the capacity of the shelf system. The support, fixing arrangement, wall, and product design interact. Do not add unrelated component ratings together to create your own higher allowance.
Keep future use realistic. A shelf installed for a light display may later attract a dense row of books, but that change needs reassessment. Choose the intended role clearly and retain the relevant loading information. A useful installation plan covers the expected contents rather than relying on the assumption that the shelf will always hold almost nothing.
Identify the Wall Construction
Determine whether the mounting location is an appropriate framed wall, masonry, or another construction, and establish the relevant conditions for the selected fixings. Wall appearance alone may not reveal what lies behind the finish. Plasterboard, plaster, hollow spaces, framing, and different masonry materials need different assessments. If you cannot identify the construction confidently, seek suitable help before drilling. Where the product requires attachment to framing or another specified structural support, plan the bracket position around that requirement. Do not replace it with an assumed equivalent anchor merely because the preferred location falls between supports. The shelf position may need to change, or a different compatible system may be more appropriate. Installation suitability takes priority over an exact decorative alignment.
Check for Concealed Services and Other Obstructions
Assess the proposed drilling area for electrical wiring, plumbing, and other concealed services using suitable information and methods. A detector can be useful, but it is not an unconditional guarantee that an area is clear. Nearby fixtures and the building’s layout may indicate reasons for further investigation. Stop and obtain appropriate professional assistance where the location or route of services is uncertain.
Do not drill on the assumption that a convenient empty patch of wall contains nothing important. The correct fixing depth also needs to suit the selected system and wall. Follow the relevant instructions without improvising deeper holes in pursuit of an apparently stronger attachment. The aim is an appropriate installation in a known location, not the largest possible fastener.
Check what is visible around the area as well. Doors, curtains, switches, and nearby furniture should retain their normal function after the shelf is fitted. A technically suitable wall position may still create a poor bedroom arrangement. Confirm both structural suitability and everyday usability before making permanent holes.
Choose a Height and Projection That Support Real Use
Mark an approximate shelf outline and include the height of the objects it will hold. Rehearse reaching, removing an item, and moving through the surrounding area. A clear floor below a shelf does not mean its projection stays out of the way at head or shoulder height. Check the actual position from the bed, desk, or chair it serves.
Avoid placing unsuitable heavy or unstable collections where displaced objects could reach a sleeping position. Consider normal movements such as sitting up or changing bedding. Another wall may serve the same storage role more comfortably. Location is part of a good installation decision, rather than a purely decorative choice made before the support is considered.
Gather the Tools Specified for the System
Use the tools, protective equipment, drill bits, and fixings appropriate to the instructions and wall material. A level, measuring tool, marking method, and suitable drill or driver may be part of the process, but the exact requirements depend on the product. Check that you can work from a stable, appropriate position. Do not rely on furniture not intended as access equipment.
Inspect the bracket and supplied components before starting. Bent parts, missing pieces, or unclear fittings deserve resolution before they are built into the wall. Keep the assembly information available throughout the work rather than relying on memory from a similar project. Small model differences can change the fastening or locking sequence.
Prepare the area so the work can proceed without damaging bedding, finishes, or objects below. Allow room to handle the shelf safely while aligning it with the bracket. If the size or installation method requires another person, arrange that help before reaching the awkward stage. A clear workspace supports both accuracy and controlled handling.
Mark the Bracket From a Reliable Reference
Use the product’s template or the specified bracket as the marking reference, following the instructions. Confirm its orientation and intended relationship to the finished shelf top. A mounting plate can sit below or within the shelf in a way that makes its screw line different from the visible top level. Marking the wrong reference can produce an accurately level bracket at the wrong final height.
Check level and position before committing to the holes. Compare both shelf ends with nearby furniture and verify that the chosen marks still meet support and service-clearance requirements. Decorative features in an older room may not themselves be level. The structural and product requirements should guide the installation rather than copying an unreliable visual line.
Drill and Fit Hardware According to the Selected Method
Use the hole diameter, depth, preparation, and installation sequence specified for the chosen fixing and substrate. Different anchors can require different procedures, so avoid transferring instructions from an unrelated product. Keep the hole location and drilling approach consistent with the wall assessment already completed. If the material behaves unexpectedly, stop and reassess rather than forcing the installation forward.
Install the fixings and bracket using the stated method and tightening guidance. Over-tightening can damage some materials or components, while insufficient engagement can leave the support unsuitable. Check the bracket’s alignment as the work proceeds. Do not compensate for an unsuitable hole or damaged fixing with an improvised packing or adhesive repair.
If a fixing fails to engage as intended, resolve the underlying problem before fitting the shelf. The appropriate remedy depends on the wall, location, product, and extent of the damage. Where that assessment exceeds your confidence, obtain qualified help. A concealed bracket will hide the connection after installation, which makes correct work at this stage especially important.
Attach and Lock the Shelf as Designed
Fit the shelf to the bracket in the sequence given for the model. Some systems slide over projecting supports, while others use different connections or retaining parts. Ensure the shelf seats as intended without forcing a mismatched or obstructed fit. Check the instructions for any required locking screws, clips, or other retention components.
Complete those retention steps even if the shelf appears to sit securely without them. The intended system includes more than its visible resting position. Check level and the expected contact with the wall after fitting. A persistent gap, movement, or misalignment may indicate an unresolved issue rather than a cosmetic detail to ignore.
Inspect Before Adding the Planned Contents
Review the completed installation against the instructions, including fixing locations, bracket engagement, and locking parts. Look for visible damage, unexpected movement, or a shelf that is not seated correctly. Do not use body weight or an improvised overload as a proof test. Such actions do not establish a documented capacity and can damage the system or create an injury risk.
Add only the intended contents within the product’s stated loading and distribution guidance once installation is complete. Keep objects stable and placed appropriately on the usable surface. Do not treat a successful first loading as permission to increase the weight later. The relevant allowance remains the one supported by the complete installed system.
If the shelf moves, loosens, tilts unexpectedly, or shows damage, remove it from use appropriately and investigate the cause. Do not keep adding objects in the hope that the problem will settle. The remedy needs to address the support or installation issue. Seek suitable help where the cause or correction is uncertain.
Retain the Information Needed for Future Changes
Keep the product identification, installation instructions, and relevant fixing details. They make later care, adjustment, or relocation easier to assess. A shelf moved to another wall needs a fresh installation decision because the construction and conditions may differ. The previous successful position does not establish suitability everywhere else in the home.
Reassess the load when the storage role changes, and follow the care guidance over time. An arrangement that begins with a few light objects can gradually become a book shelf without anyone making a deliberate decision. Periodic review keeps the use connected to the original installation limits. Good floating shelving remains a compatible system throughout its life, not just on the day it is fitted.
Reassess Existing Holes and Replacement Shelves
Old mounting holes do not establish a suitable installation for a new shelf. The previous fixings, wall condition, spacing, and intended loads may be unknown or incompatible. Assess the proposed replacement as its own complete system rather than treating familiar hole positions as approval.
A shelf that appears to fit an existing bracket may still have different engagement or retention requirements. Confirm documented compatibility before combining parts from separate products. If that information is unavailable, choose a supported arrangement instead of relying on a close visual match.
An installation plan can finish with three resolved entries: the exact shelf and bracket combination, the confirmed wall condition and compatible fixing method, and the collection the shelf is meant to carry. A lightweight display shelf and a shelf of books may need different complete systems even at the same length. If the wall or a concealed service remains uncertain, that entry stays unresolved and drilling waits. This is the point at which planning produces a usable decision rather than another generic list of tools. The actual installation then follows the selected system’s instructions.